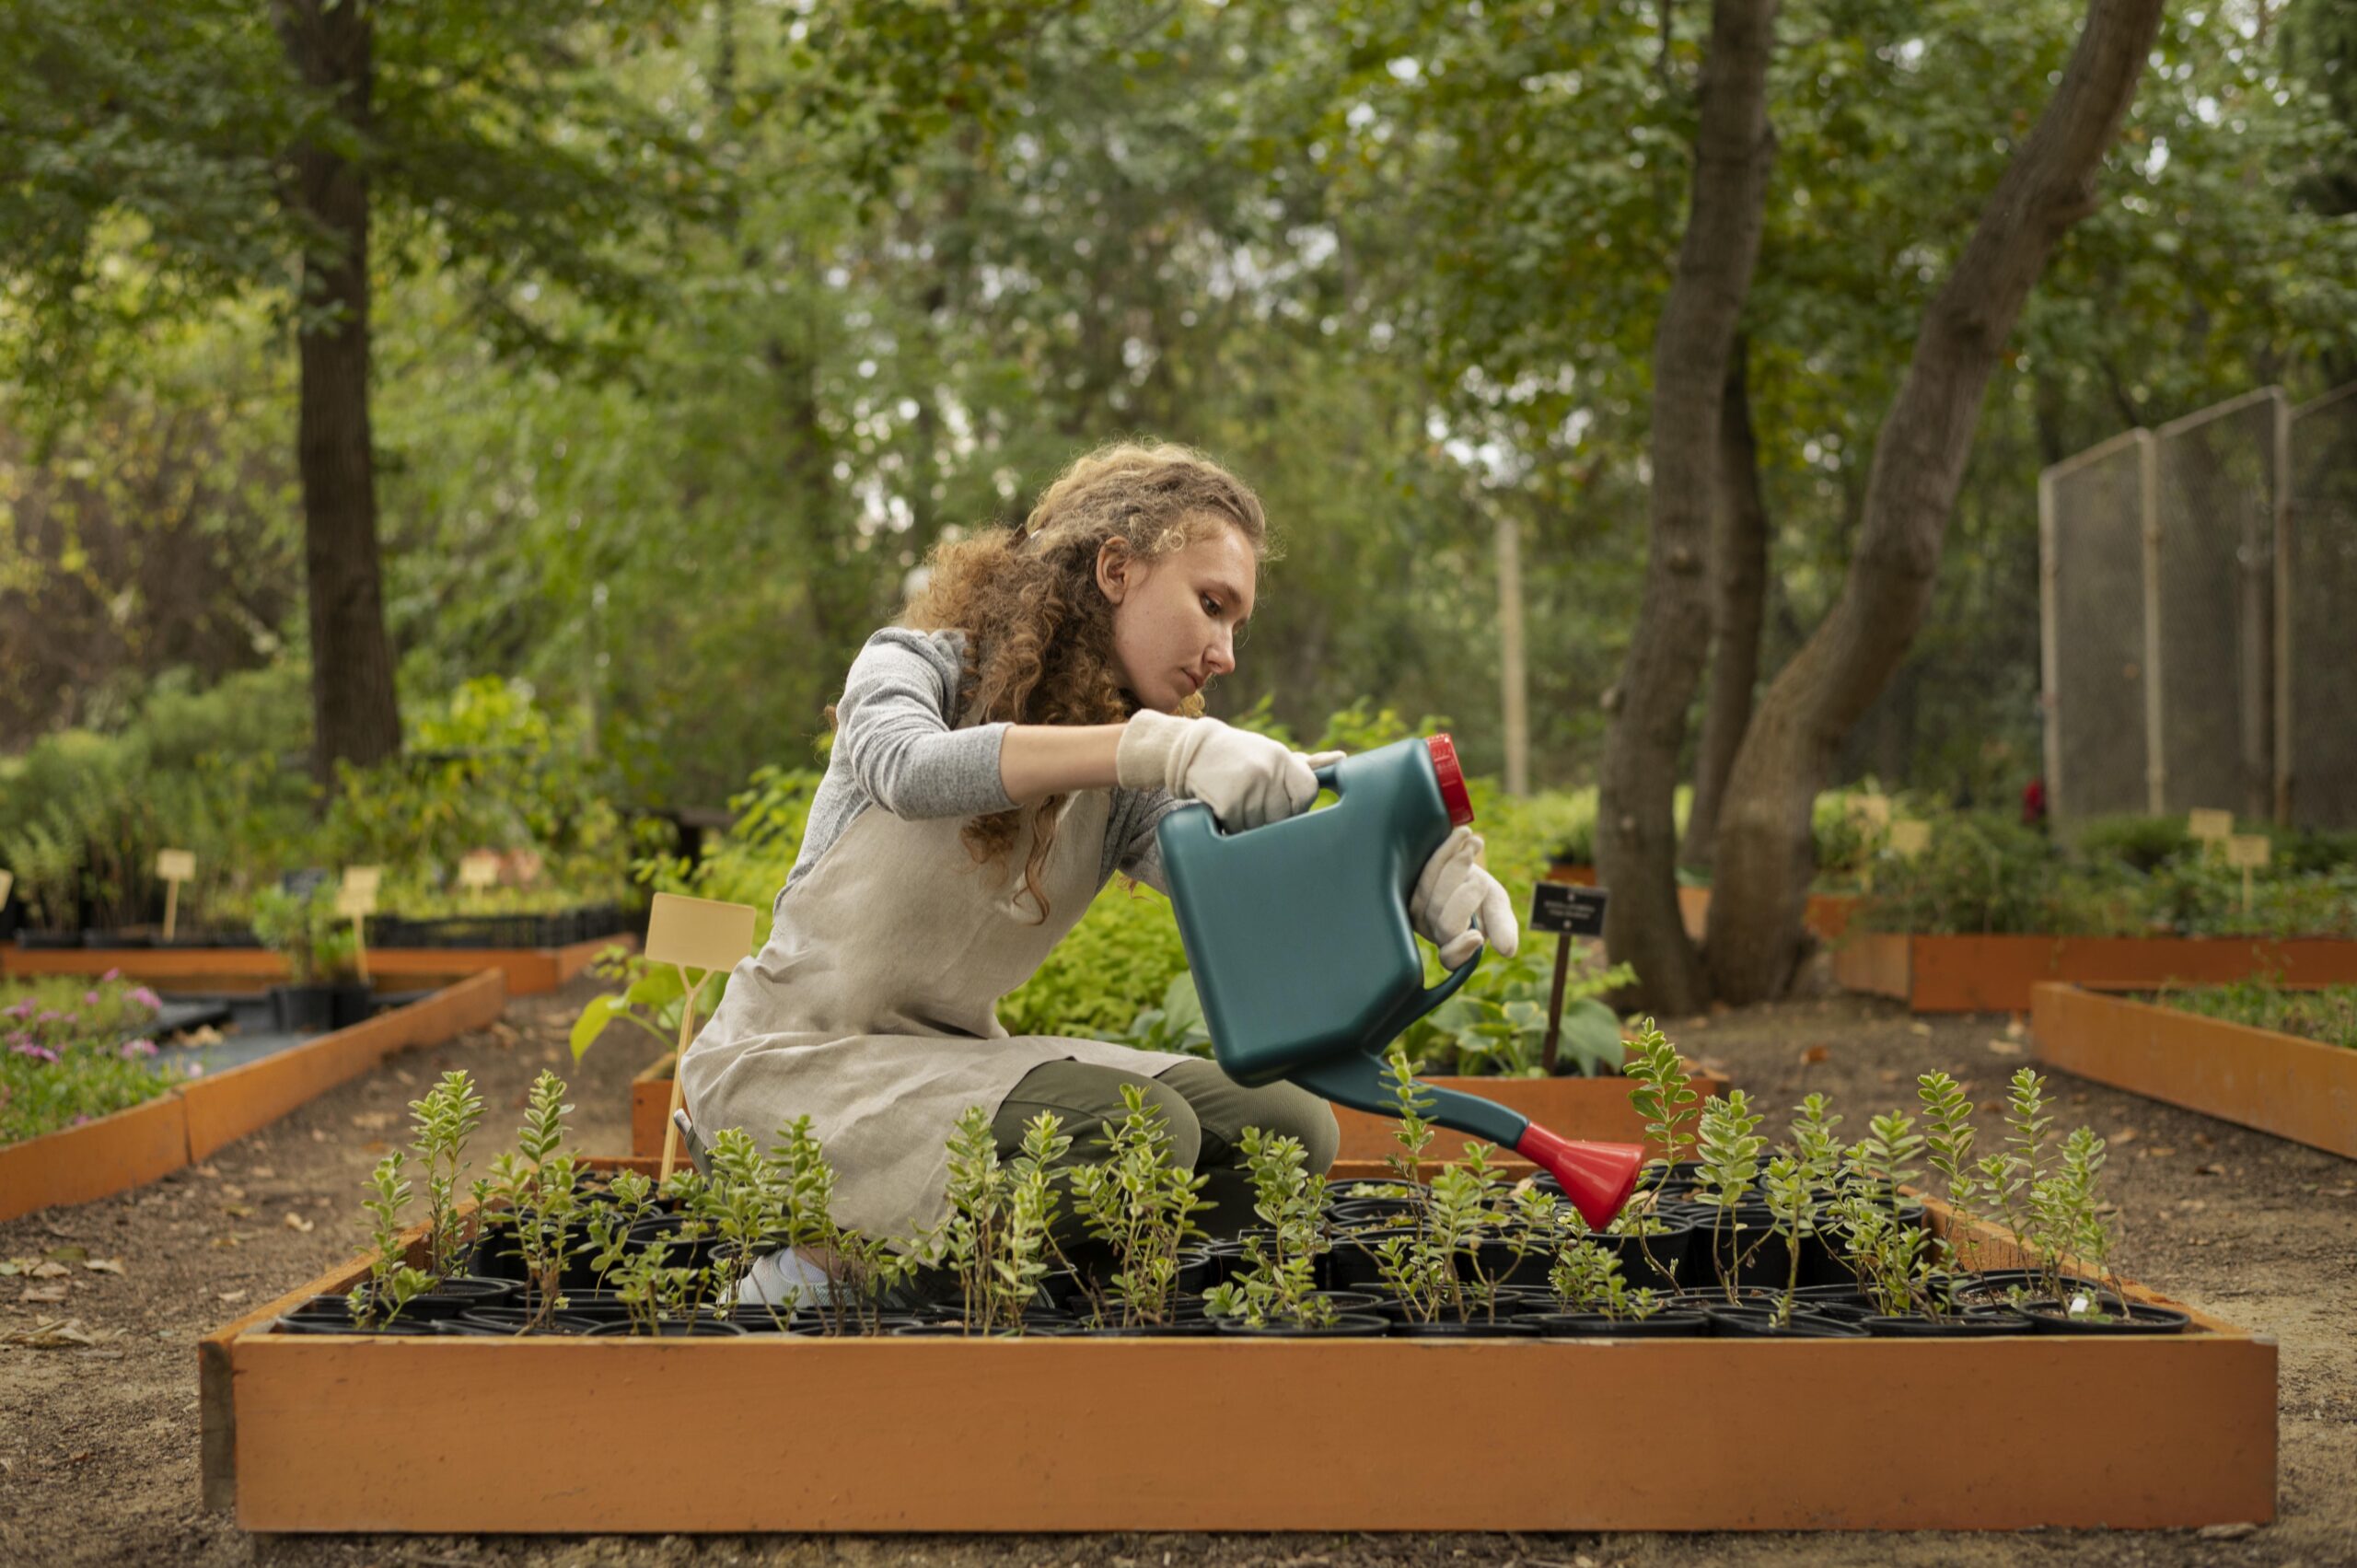
How to Build a Garden Bed (No Experience!)
Dreaming of a backyard bursting with fresh veggies or vibrant flowers, but unsure where to start? A raised garden bed is a great beginner-friendly project that sets the stage for successful gardening — and you don’t need prior experience to make one! Whether you’re short on space or soil, this how-to guide will walk you through every step.
In this tutorial, you’ll learn how to build a raised garden bed from scratch, customize it to your space, and get it ready for planting — all with basic tools and beginner know-how.
Step 1: Choose the Right Location
Pick a sunny, level spot for your garden bed. Most vegetables and flowers need at least 6–8 hours of direct sunlight per day. Avoid areas with poor drainage or heavy foot traffic. Look for locations that are easy to access so watering, planting, and harvesting don’t feel like a chore.
Step 2: Gather Your Materials
You don’t need fancy equipment to build a basic raised bed. Here’s what you’ll need:
- 4 untreated wooden boards (e.g., 2×6 or 2×8, depending on height)
- Wood screws or galvanized corner brackets
- A drill or screwdriver
- Measuring tape and level
- Garden soil and compost
Step 3: Build the Frame
Use your boards to form a rectangle or square, depending on your space. Attach the corners using screws or brackets. Check for squareness and ensure the frame sits flat. You can also pre-drill holes to avoid splitting the wood, especially if you’re working with hardwoods.
Step 4: Prepare the Ground
Clear away grass, weeds, or debris where your frame will sit. You can dig down a bit or place cardboard at the bottom to suppress weeds while still allowing drainage. This step prevents future headaches with invasive weeds or compacted roots.
Step 5: Position and Fill the Bed
Place your frame in position and double-check it’s level. Fill it with a mix of quality garden soil and compost — typically a 60:40 ratio. You can also mix in organic fertilizers like bone meal or worm castings. Rake it smooth and water lightly to settle the soil before planting.
Step 6: Start Planting
Now comes the fun part! Choose plants appropriate for the season and your sun exposure. Use spacing guidelines on seed packets, and don’t forget to label rows for easy identification. Consider companion planting to maximize space and improve yield.
Step 7: Maintain and Enjoy
Water regularly, check for weeds, and harvest as your plants mature. Raised beds typically need less maintenance than in-ground gardens and are perfect for beginners. Inspect your soil moisture with your finger and mulch the surface to retain hydration.
Expert’s Advice
According to horticulturists, raised beds improve drainage, reduce soil compaction, and make pest control easier. If you live in an area with poor soil quality, a raised bed gives you full control over the growing medium — a major advantage for thriving plants. You also avoid issues like soil erosion and uneven nutrient distribution found in traditional gardening.
Additional Tips for New Gardeners
Once your raised bed is built and planted, a few extra strategies can help keep your garden productive and thriving — even if you’re just starting out. Here are some tips to make the most of your new space:
- Start small with one or two beds before expanding
- Choose easy crops like lettuce, radishes, and herbs
- Add mulch to help retain moisture and suppress weeds
- Use a drip hose for efficient watering
- Keep a garden journal to track your successes and lessons
Real-Life Tip
If you’re unsure whether your space gets enough sun, try placing pots of plants in that area for a week and observe how they grow. This simple trial run can help you fine-tune your bed placement without committing to construction in the wrong spot. Many gardeners regret placing beds too close to trees, fences, or shaded walls.
Common Mistakes to Avoid
To avoid setbacks, it’s helpful to be aware of a few missteps that beginners often make when building or using their first garden bed:
- Using treated lumber which may contain harmful chemicals
- Skipping weed prevention at the bottom of the bed
- Overfilling soil above the edge, causing runoff
- Not securing corners firmly, leading to shifting over time
- Overcrowding plants which limits growth and airflow
Takeaway
Building your first raised garden bed is easier than you think — and it’s the perfect gateway to home gardening. By following these steps, you’ll create a productive, manageable space to grow your own food or flowers with pride.
With a little effort and some basic materials, you’ll soon be enjoying fresh harvests, healthy blooms, and the deep satisfaction that comes from growing something yourself. So grab your tools — your garden adventure starts today!
