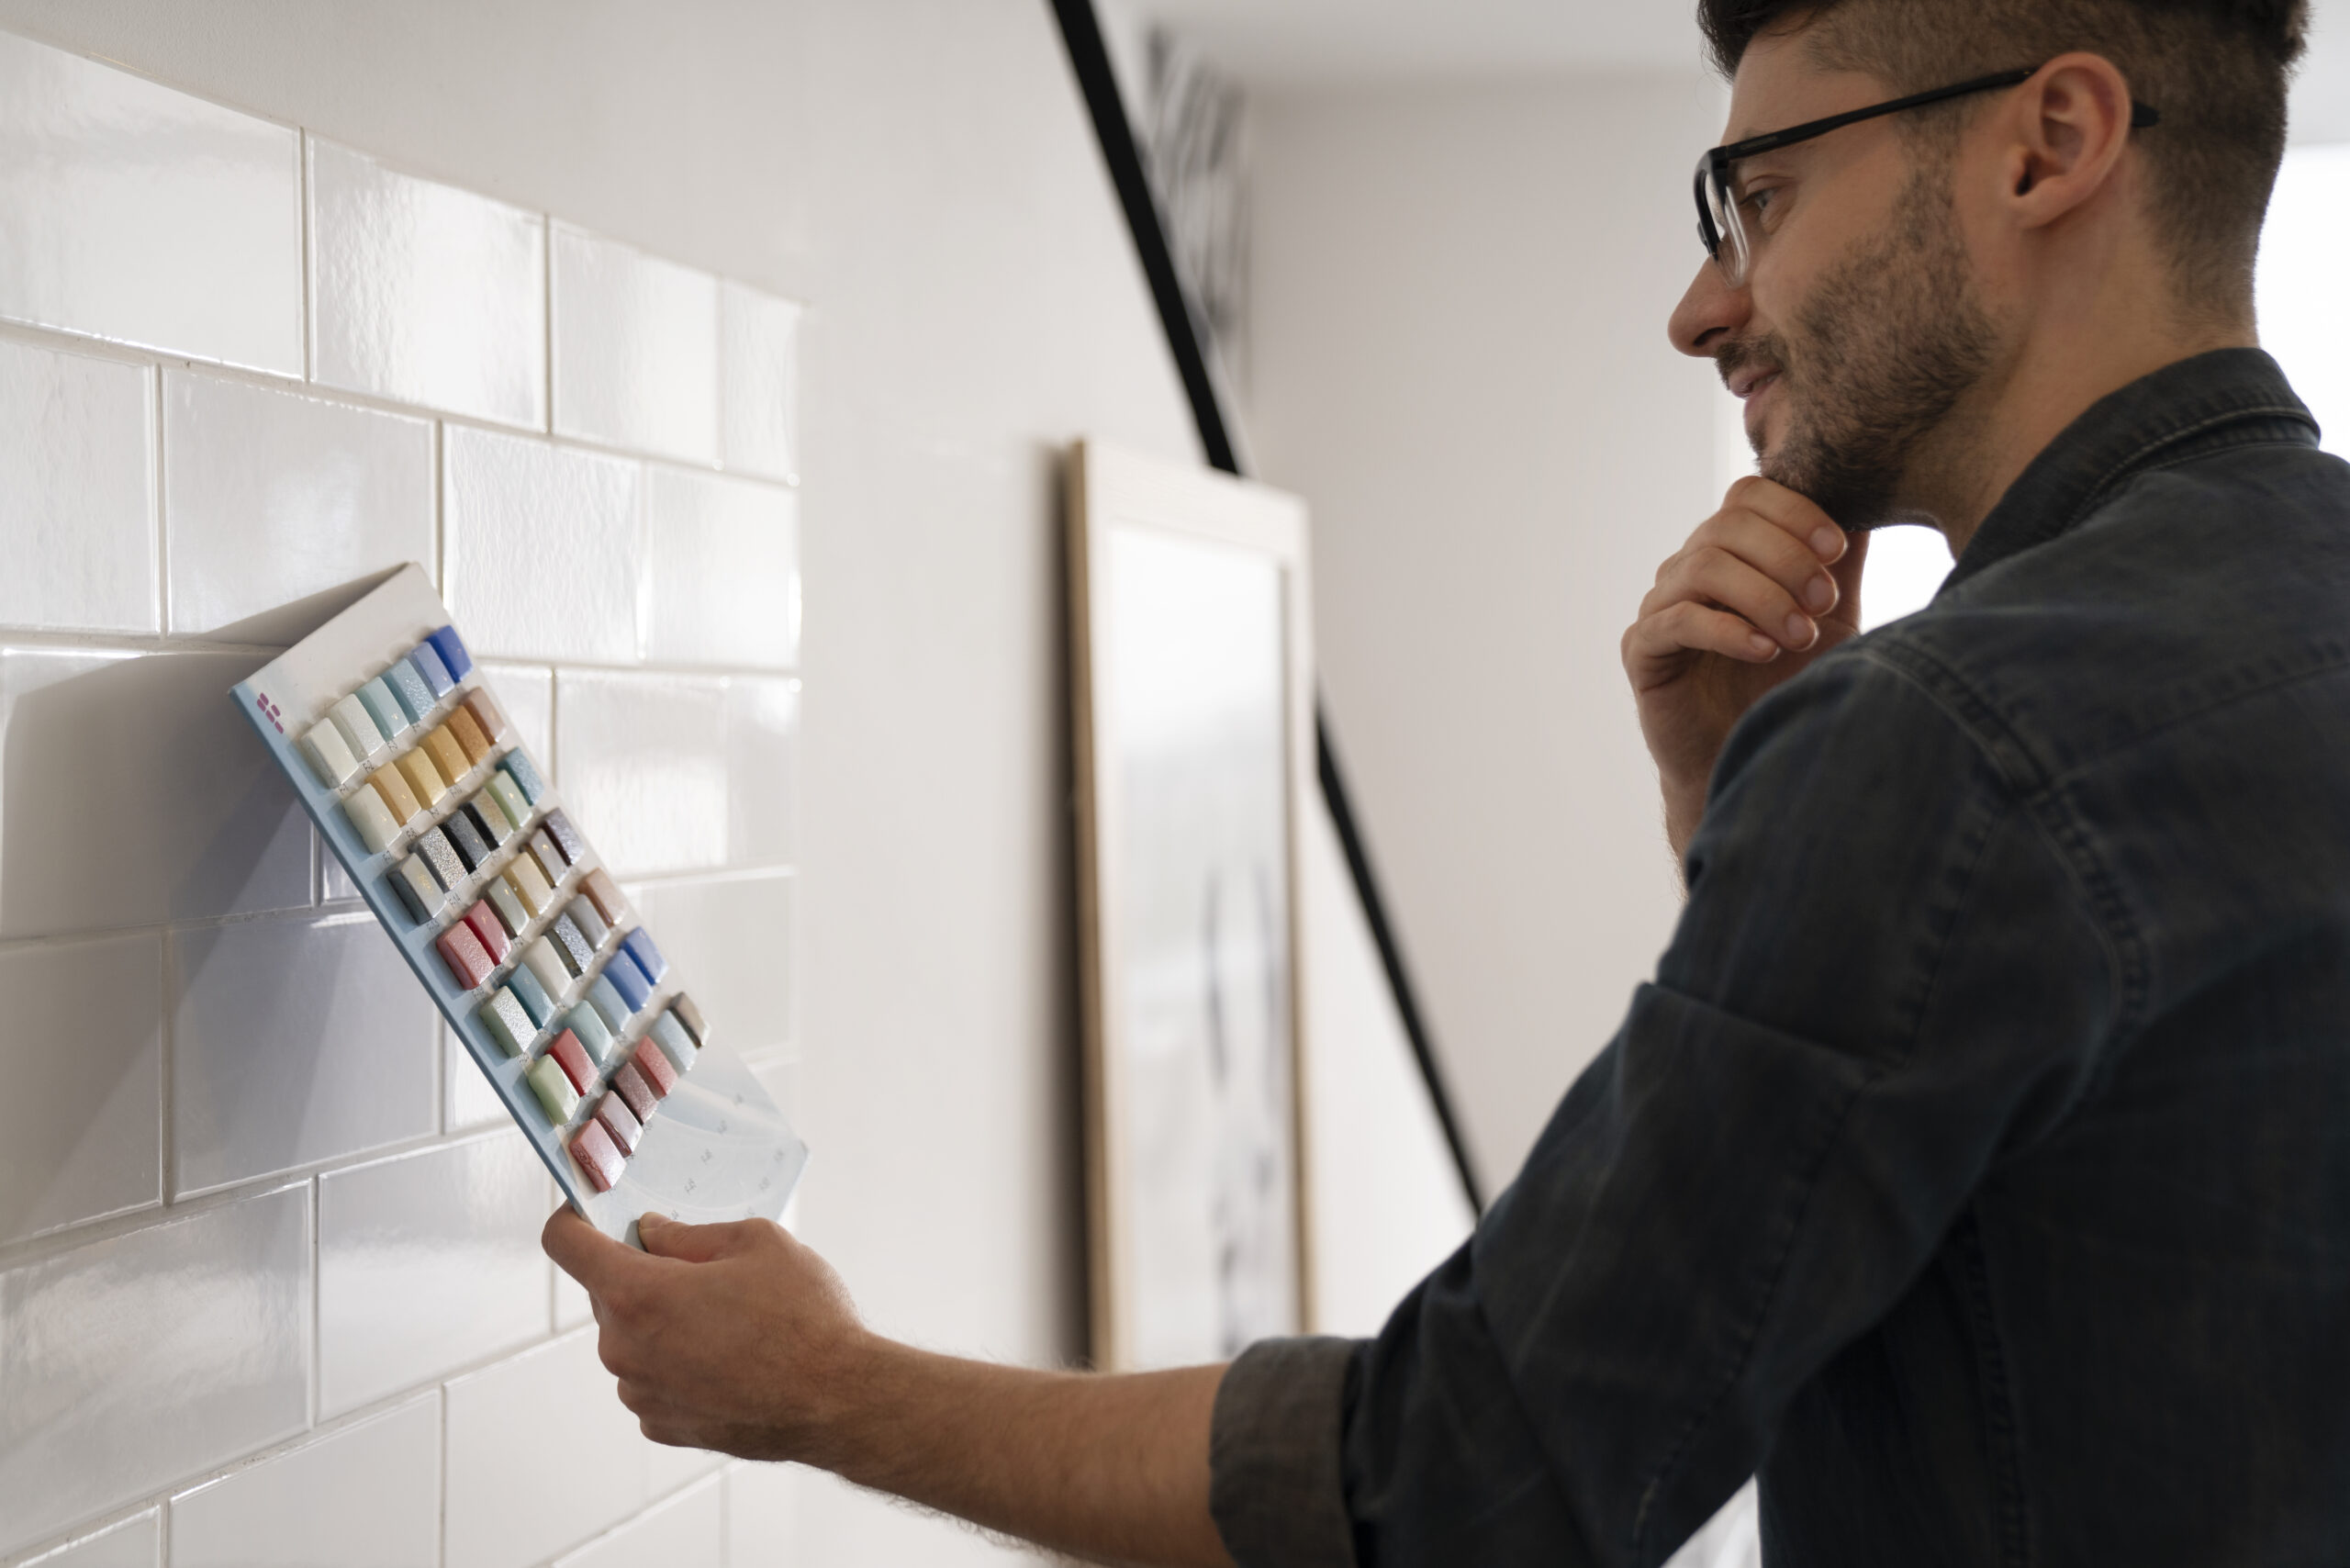
Can I Paint Tile? Yes — Here’s How
Have outdated bathroom tiles or a kitchen backsplash that’s stuck in the past? You might be wondering: Can I just paint over it? The answer is yes — with the right prep and products. Painting tile is a cost-effective way to refresh your space without a messy renovation, and it’s surprisingly doable for beginners.
In this step-by-step guide, we’ll walk you through the entire process of painting tile so it lasts, looks great, and stands up to wear and tear.
Step 1: Choose the Right Tile
Not all tiles are created equal. You’ll get the best results painting ceramic or porcelain wall tiles — especially in low-moisture areas like backsplashes, laundry rooms, or guest baths. Floor tile can also be painted, but it requires extra durability prep and specialty sealers.
Step 2: Gather Your Materials
Make sure you have everything ready before starting:
- Tile cleaner and degreaser
- Fine-grit sandpaper
- Painter’s tape
- High-adhesion primer
- Epoxy or latex paint designed for tile
- Foam roller and brush
- Polyurethane sealer (for floors)
Step 3: Clean and Prep the Tile
This step is crucial. Use a heavy-duty tile cleaner or degreaser to remove soap scum, grease, and grime. Rinse thoroughly and allow the tile to dry completely. Then, lightly sand the surface to help the primer stick. Wipe away dust with a damp cloth.
Step 4: Tape and Prime
Use painter’s tape to protect grout lines, edges, and any surfaces you don’t want to paint. Apply a bonding primer designed for slick surfaces. Let it dry fully — check the manufacturer’s instructions for curing time. A well-primed surface ensures your paint won’t peel or chip prematurely.
Step 5: Apply Paint in Thin Layers
Use a foam roller for even application and a brush for corners. Apply the paint in thin coats, allowing each coat to dry fully before adding the next. Most projects require two to three coats for full coverage.
Step 6: Seal (Optional, but Recommended)
For high-traffic areas like bathroom floors or kitchen counters, apply a clear polyurethane sealer. This adds durability and protects the paint from scratches and moisture damage.
Step 7: Let It Cure
Resist the urge to use your painted tiles right away. Let the paint cure for at least 48–72 hours before exposing it to water or heavy use. This step makes a big difference in how long your finish will last.
Common Mistakes to Avoid
Painting tile can be rewarding — but it’s also easy to mess up if you skip important steps. Here are common pitfalls to watch out for:
- Skipping surface prep — unclean or unsanded tile won’t hold paint
- Using regular wall paint instead of tile-safe formulas
- Not sealing floors which leads to peeling and chipping
- Painting over wet tile — always let it dry first
- Applying thick coats which create streaks and uneven coverage
Advanced Tips for Long-Lasting Results
Want your painted tiles to look great for years to come? These pro tips will help you extend the life of your project:
- Use a deglosser in addition to sanding for glossy tile surfaces
- Wait 24 hours between coats for optimal curing
- Ventilate the room well to speed up drying and prevent bubbles
- Re-seal annually in high-traffic or damp areas
- Test paint adhesion on a small tile before doing the whole wall
When to Avoid Painting Tile
As effective as this method can be, painting tile isn’t always the best solution. If your tile is cracked, heavily damaged, or in a consistently wet environment (like a shower floor), you’re better off replacing it. Painted tiles won’t adhere properly to surfaces that flex or are constantly submerged.
Choosing the Right Color and Finish
Color choice plays a big role in how the final result looks and lasts. Lighter colors help open up a small bathroom or kitchen, while darker tones create a bold, modern look. For finishes, satin or semi-gloss works well on walls, while gloss offers better durability for floors. Avoid matte finishes as they may stain easily.
Takeaway
Painting tile is a clever way to give your space a makeover without demolition or major costs. With careful preparation and the right materials, you can turn old, dated tiles into a fresh and stylish focal point. Just follow the steps and don’t rush the process — the results will speak for themselves!
Whether you’re upgrading a backsplash or breathing new life into a bathroom floor, tile paint can be a surprisingly fun and satisfying DIY project.
